3D Printing 2D Images: Guide to Lithophanes
Introduction
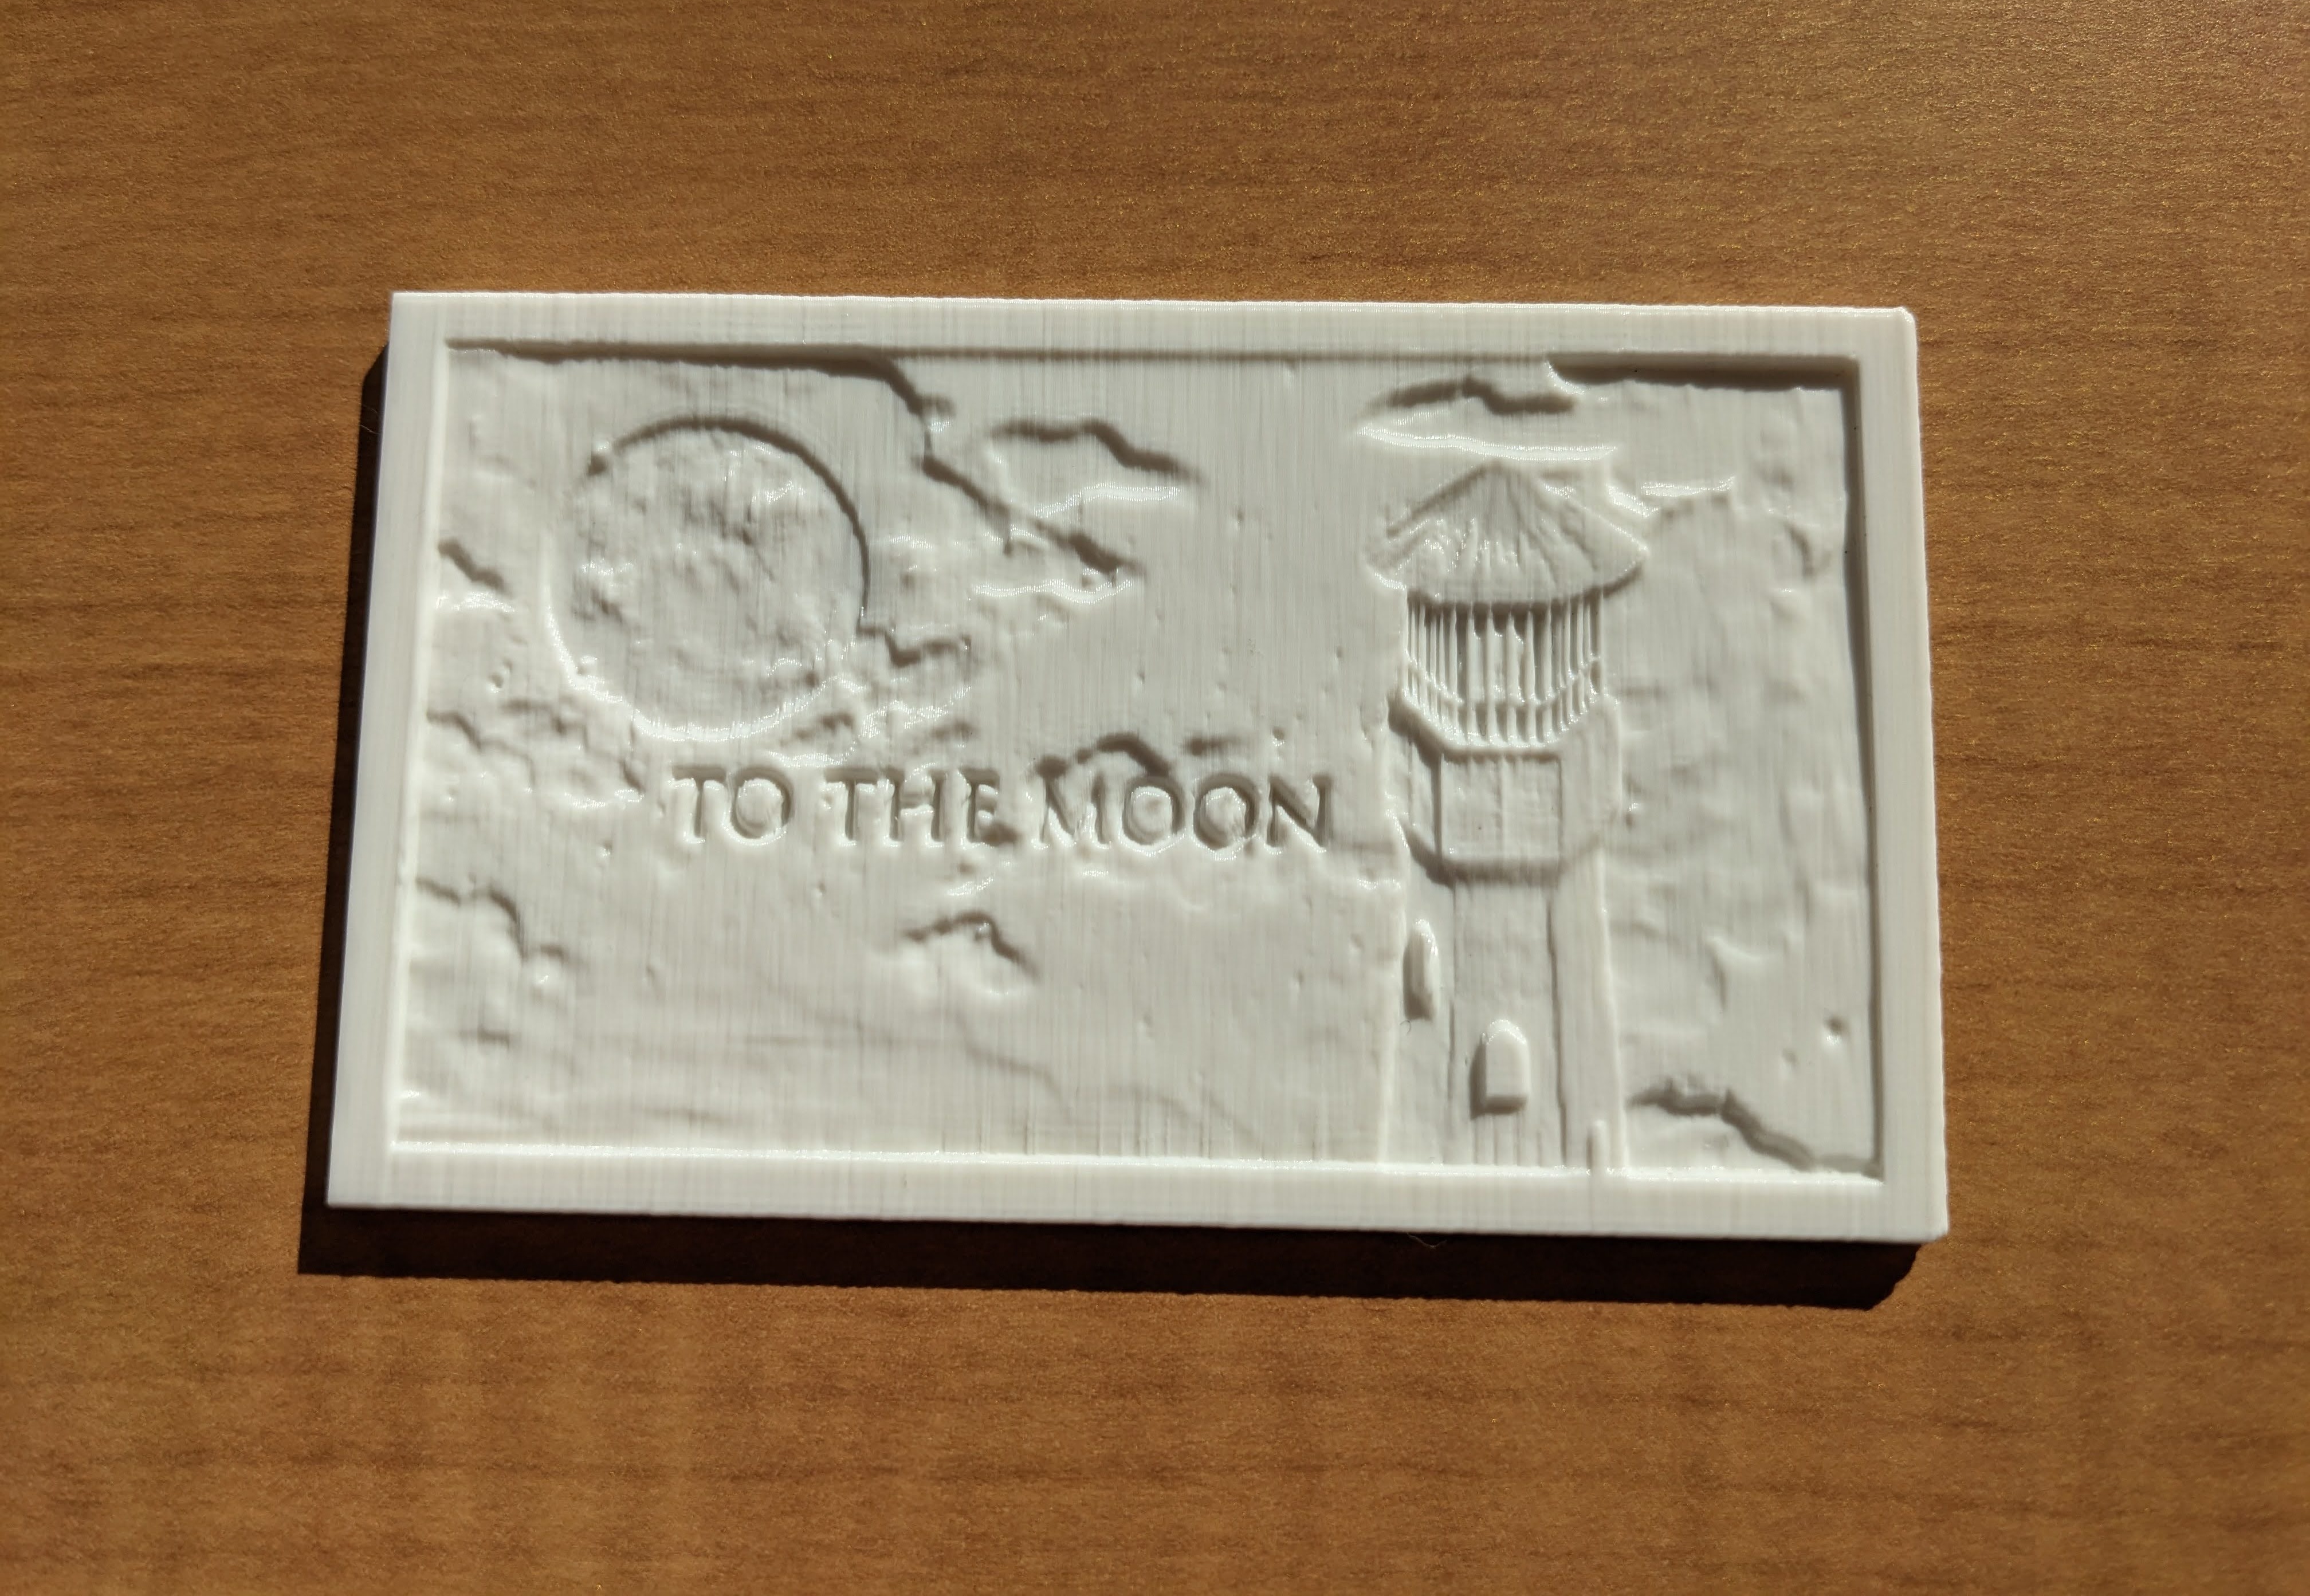
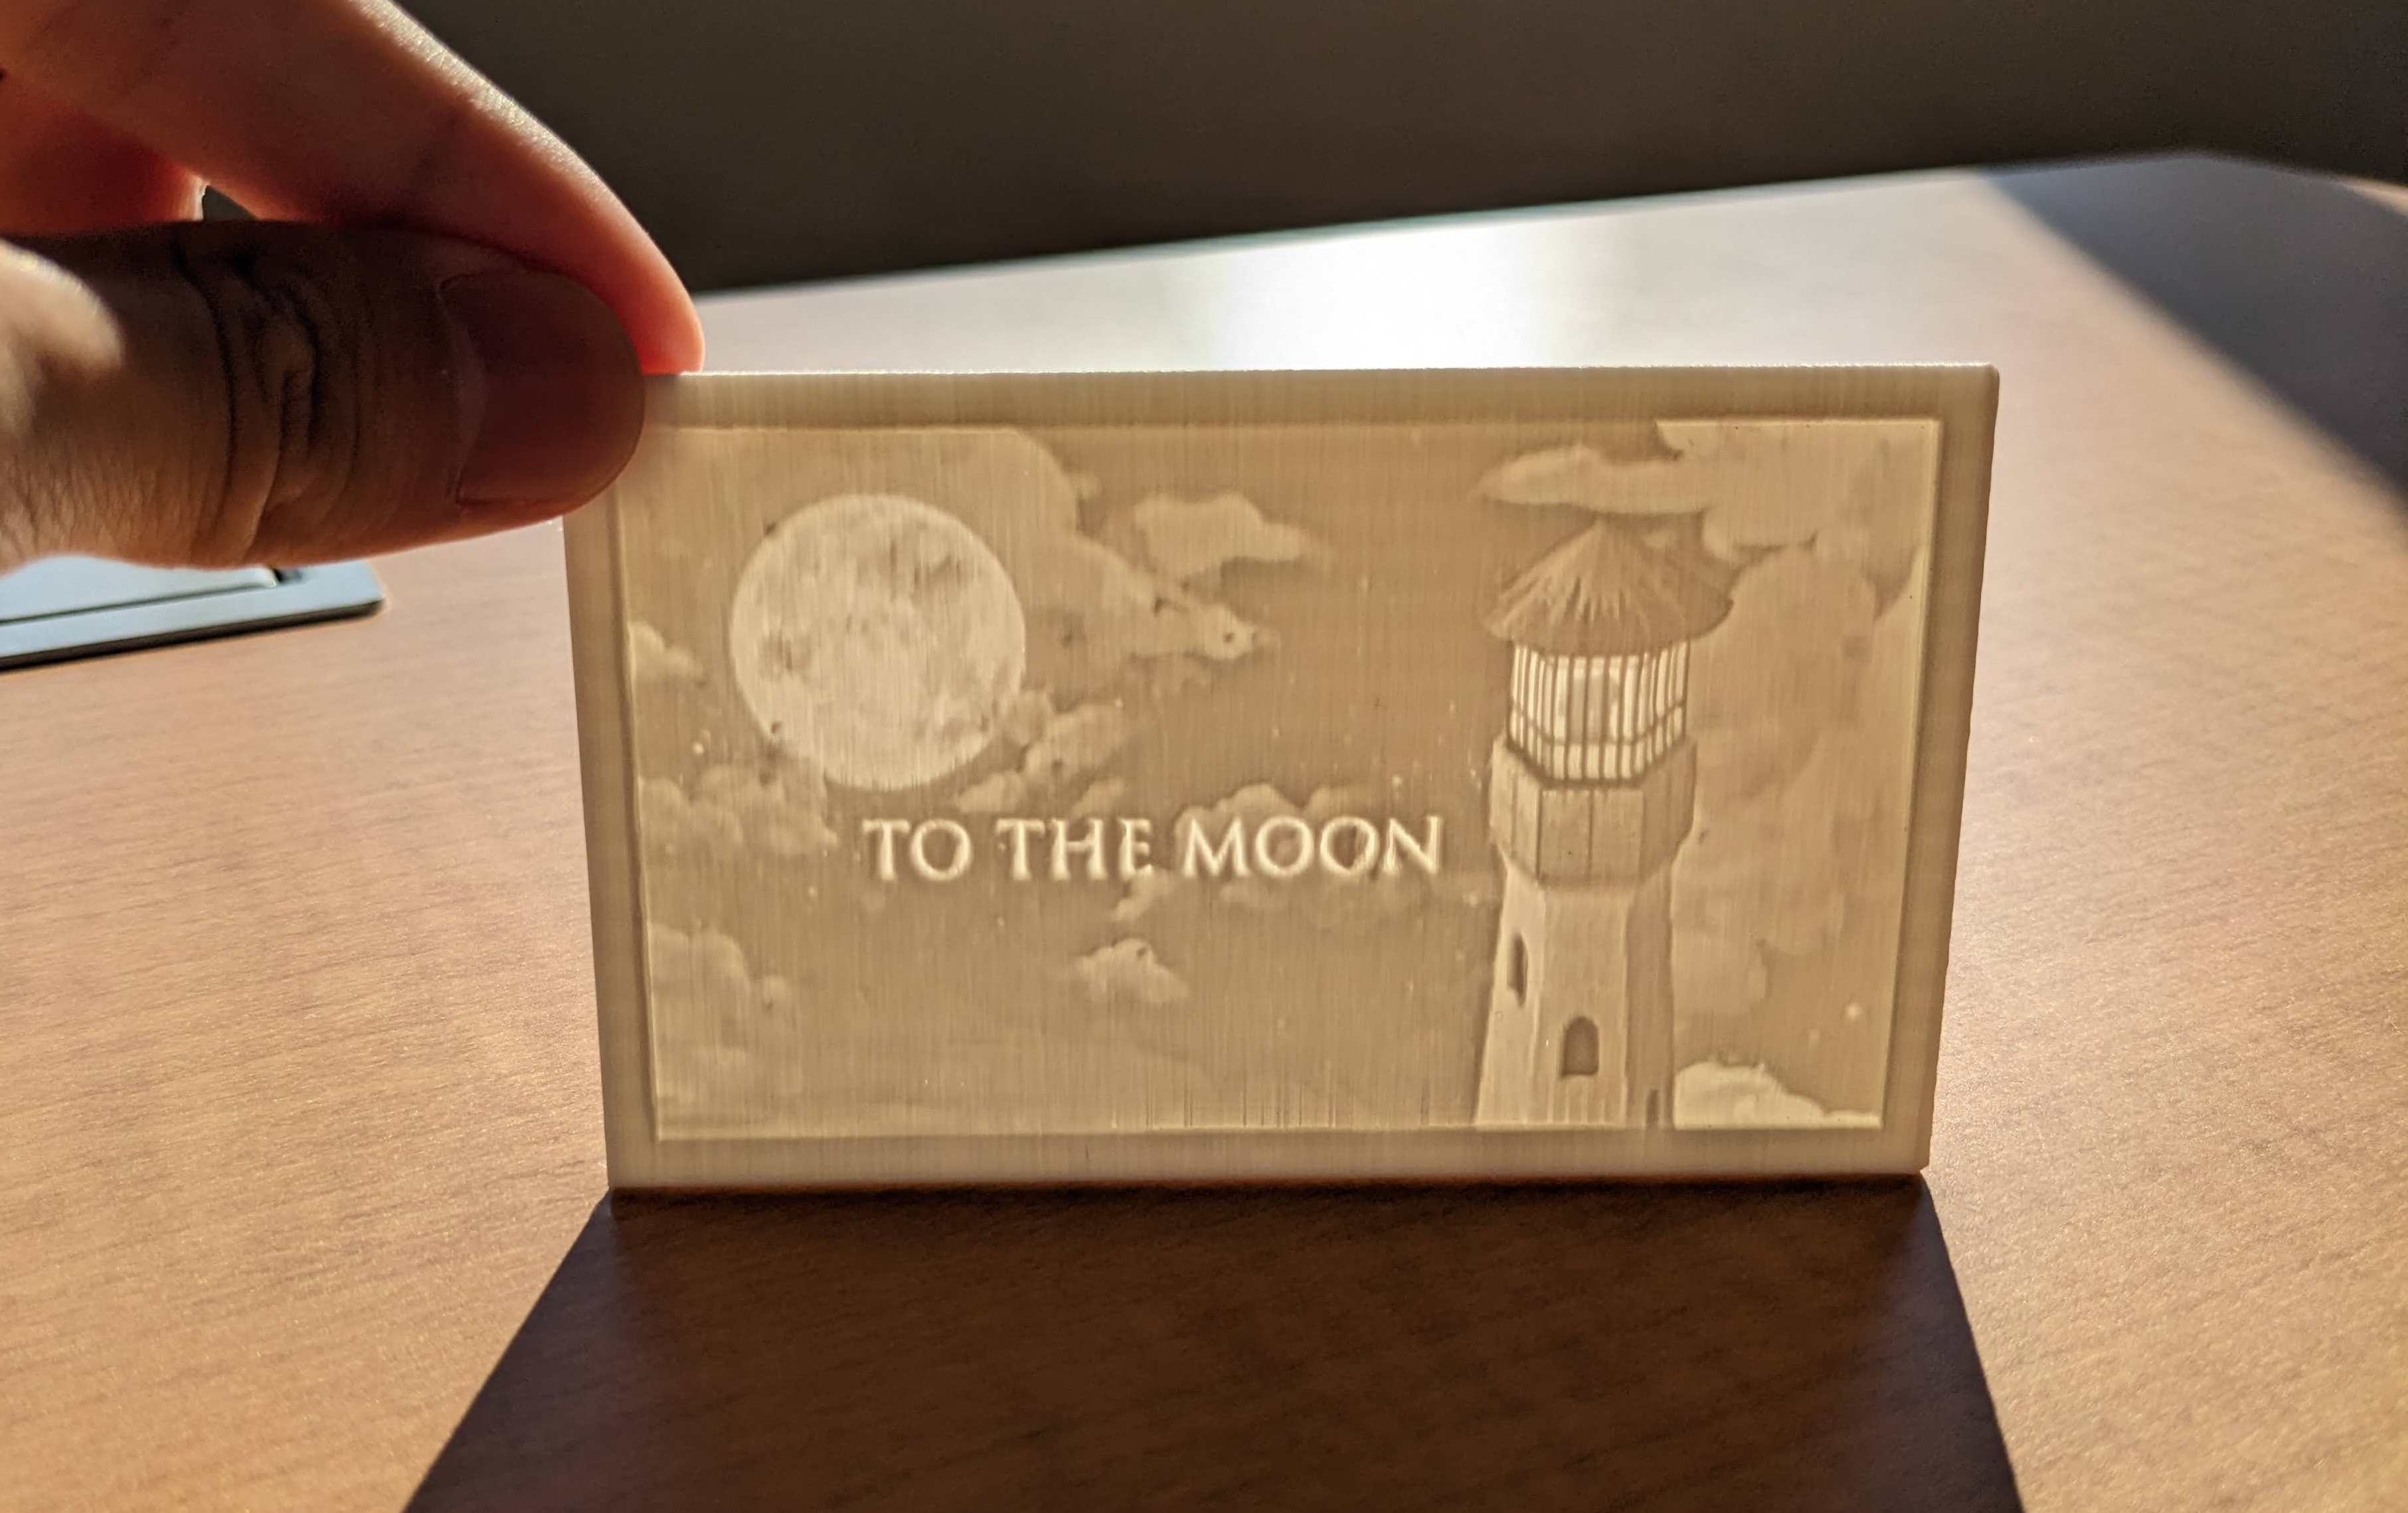

Intro:
A lithophane is a thin plaque of translucent material which has been molded to varying thickness, such that when lit from behind, the different thicknesses show as different shades, forming an image.
3D printed lithophanes are a cool and easy way to display your favorite images. They make for unique gifts and fun decorations. Any image that looks good in black & white can be used, which makes it perfect for photos and posters.
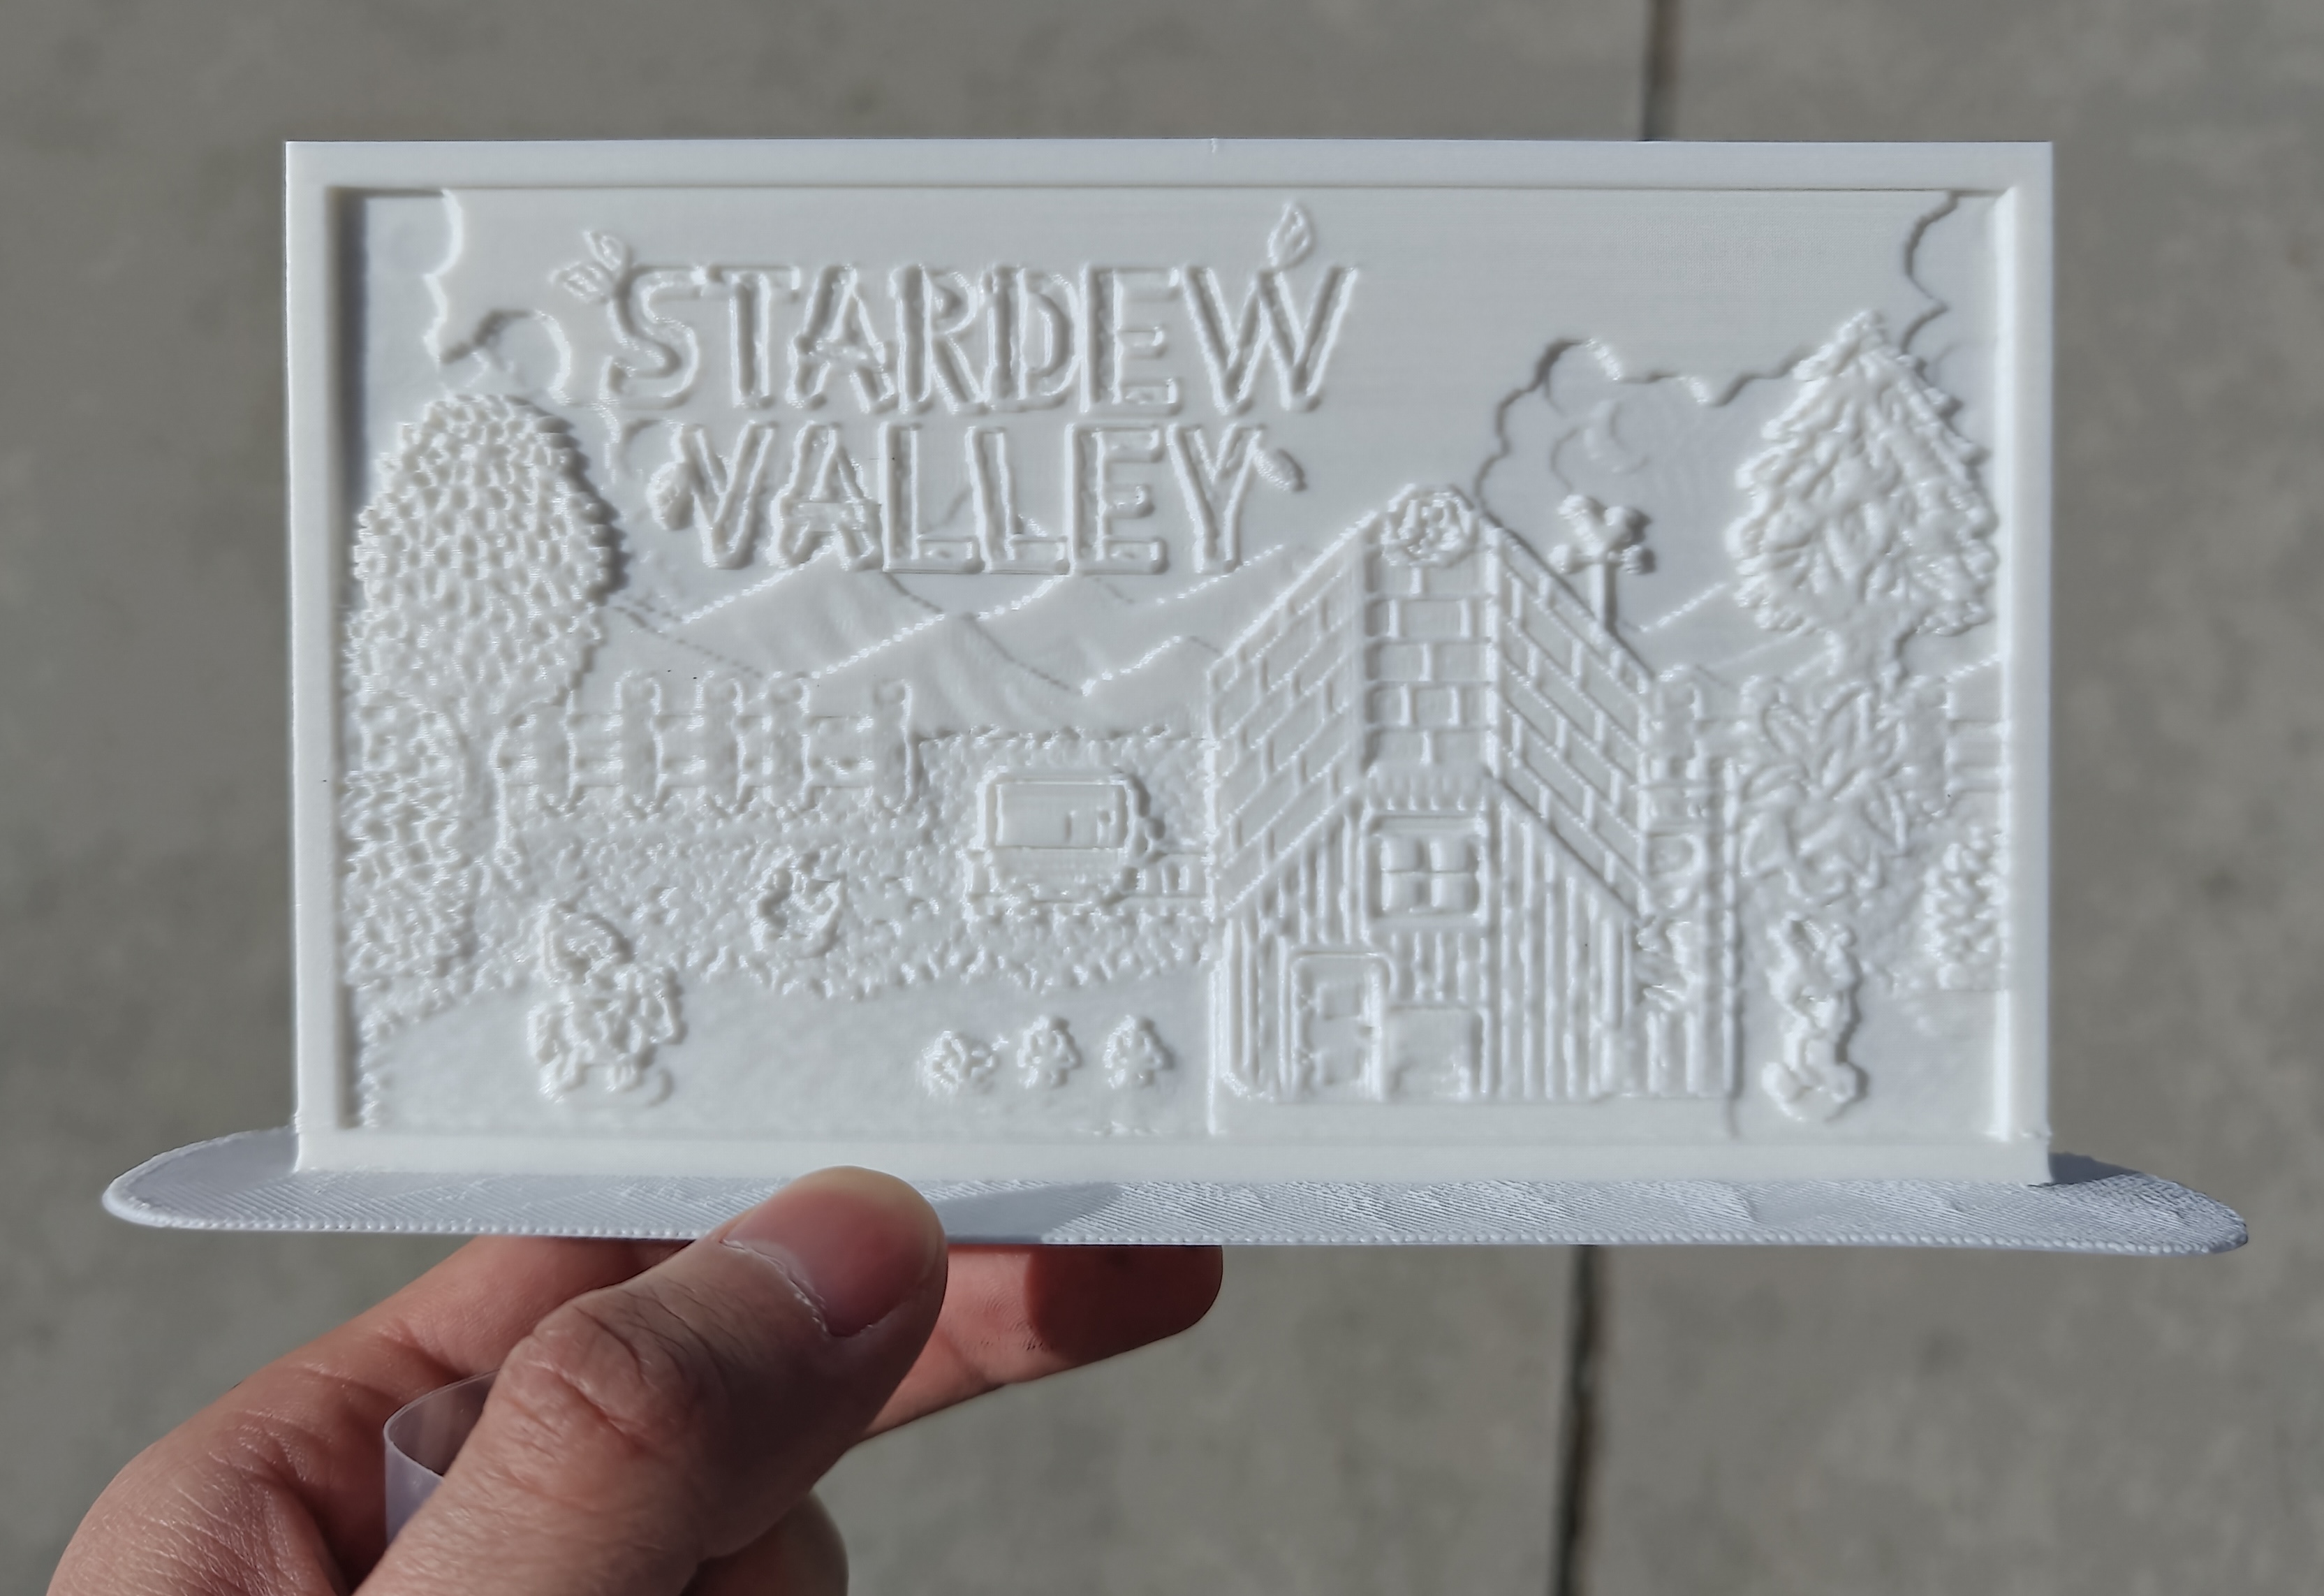
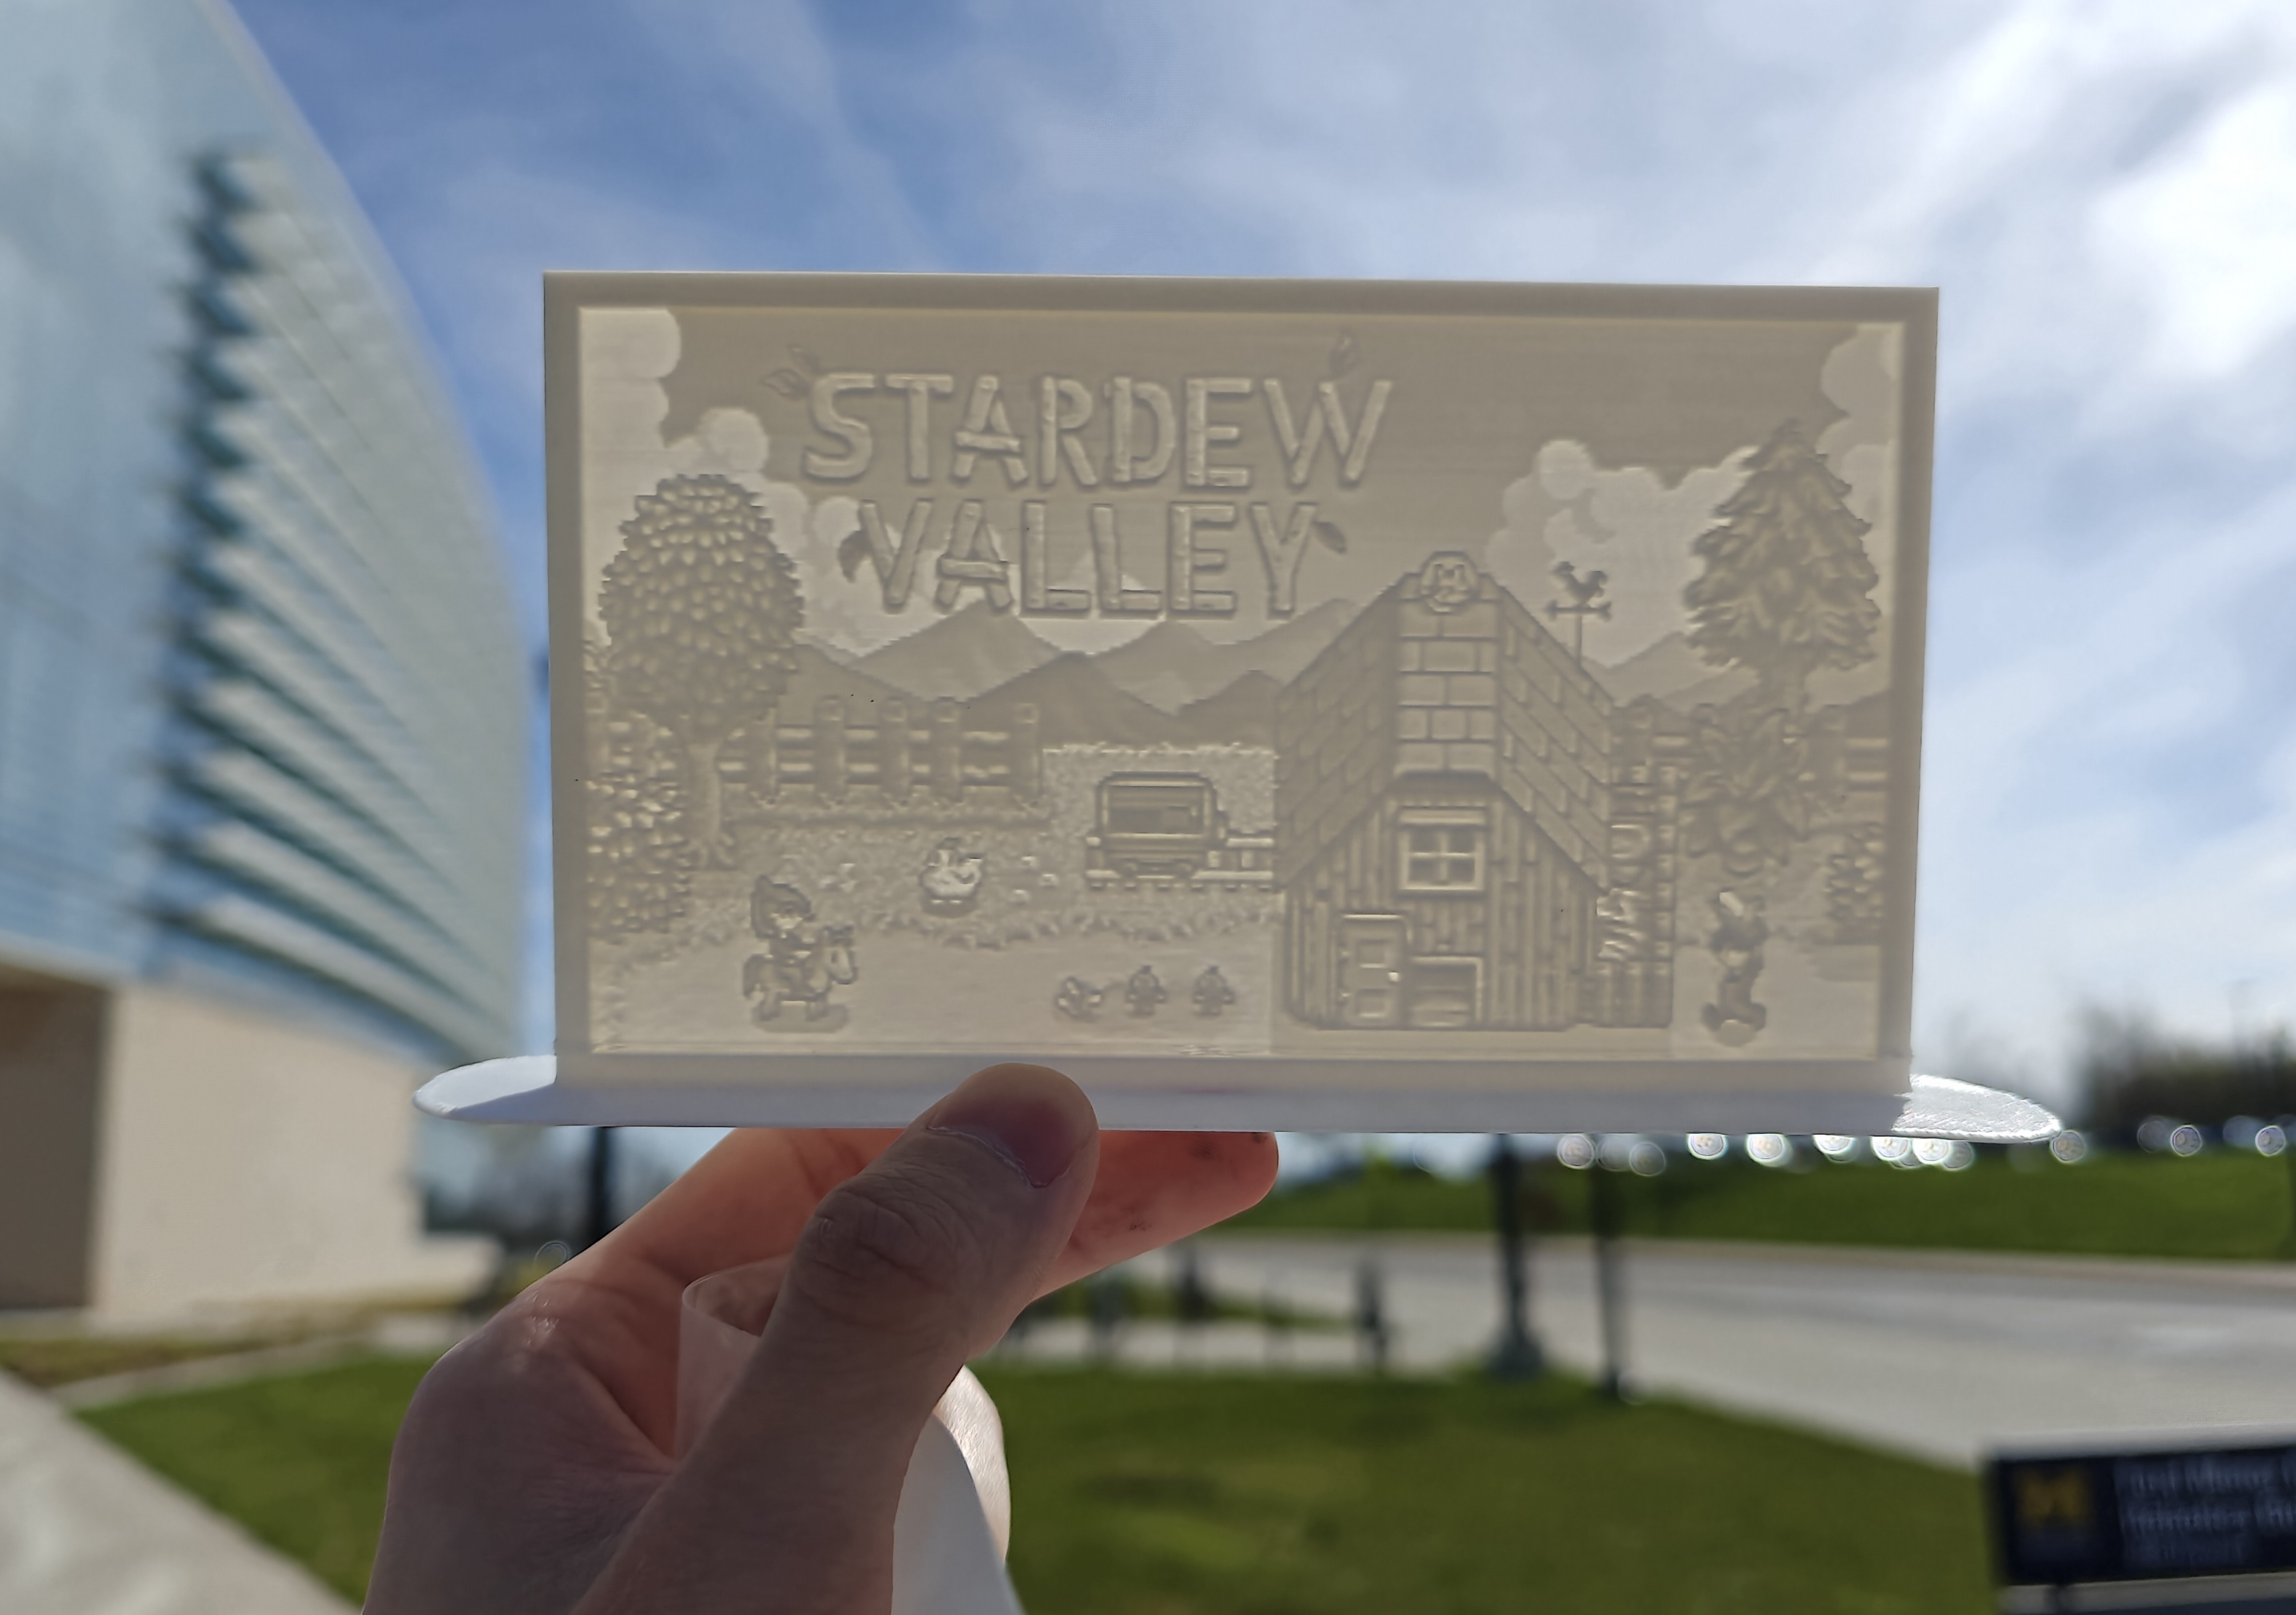

Pre-reqs:
- Know how to operate a 3D printer (or have someone who does)
- Choose an image that looks good in black & white
- White filament
This guide will teach:
- How to turn an image file into a .stl file
- What slicer settings to use when slicing the .stl file into a .gcode file
Guide:
Making your file
First, choose an image that looks good in black & white.
There are a few lithophane model generators online. I use https://3dp.rocks/lithophane/
- Upload your image under “Images”
- Choose “Outer Curve” under model. Do not choose “Flat”! We can make it flat in settings. (Imagine outer curve as a section of a lampshade where the lamp is the light source. I don’t suggest choosing “Flat” because the lithophane must be printed standing up.)
Under “Settings” -> “Image Settings”:
- Choose “Positive Image” (important) (this is for the lighting from behind effect)
Under “Settings” -> “Model Settings”:
- Max size: choose somewhere between 100 and 200 (200 is huge imo)
- Thickness 3mm (impacts how much light needed)
- Border: 4mm (up to you, none if you want no border)
- If you don’t want curve: set curve to 1. Go to Model for a 3d preview.
Slicer setup:
We must print the lithophane standing up.
Printing it standing up means that there are more shades of gray the printer can print, resulting in a higher quality image. This is because printers have higher resolution/quality in the x/y direction than z (up-down). If this doesn’t make sense, try slicing it both ways and comparing the preview. If you can do it better, I would love to be proven wrong.
- In your slicer, set the quality to a high quality (like 0.15mm layer height or less). Besides what I list below, default settings should be fine.
- Set the infill to 100%. Setting it lower won’t change anything anyways, as it is so thin that there is no space for infill.
- Make sure a brim (or raft) is added so it doesn’t fall while printing. Adhesion is important, as this is a thin and tall model. Mine has fallen over before in a ~12-hour long print. This mostly affects non-curved lithophanes.
- No need to add supports. Any overhangs are tiny enough to not matter.
Make sure the print does not fall over if you don’t make it curved, and assert that the bed is level.
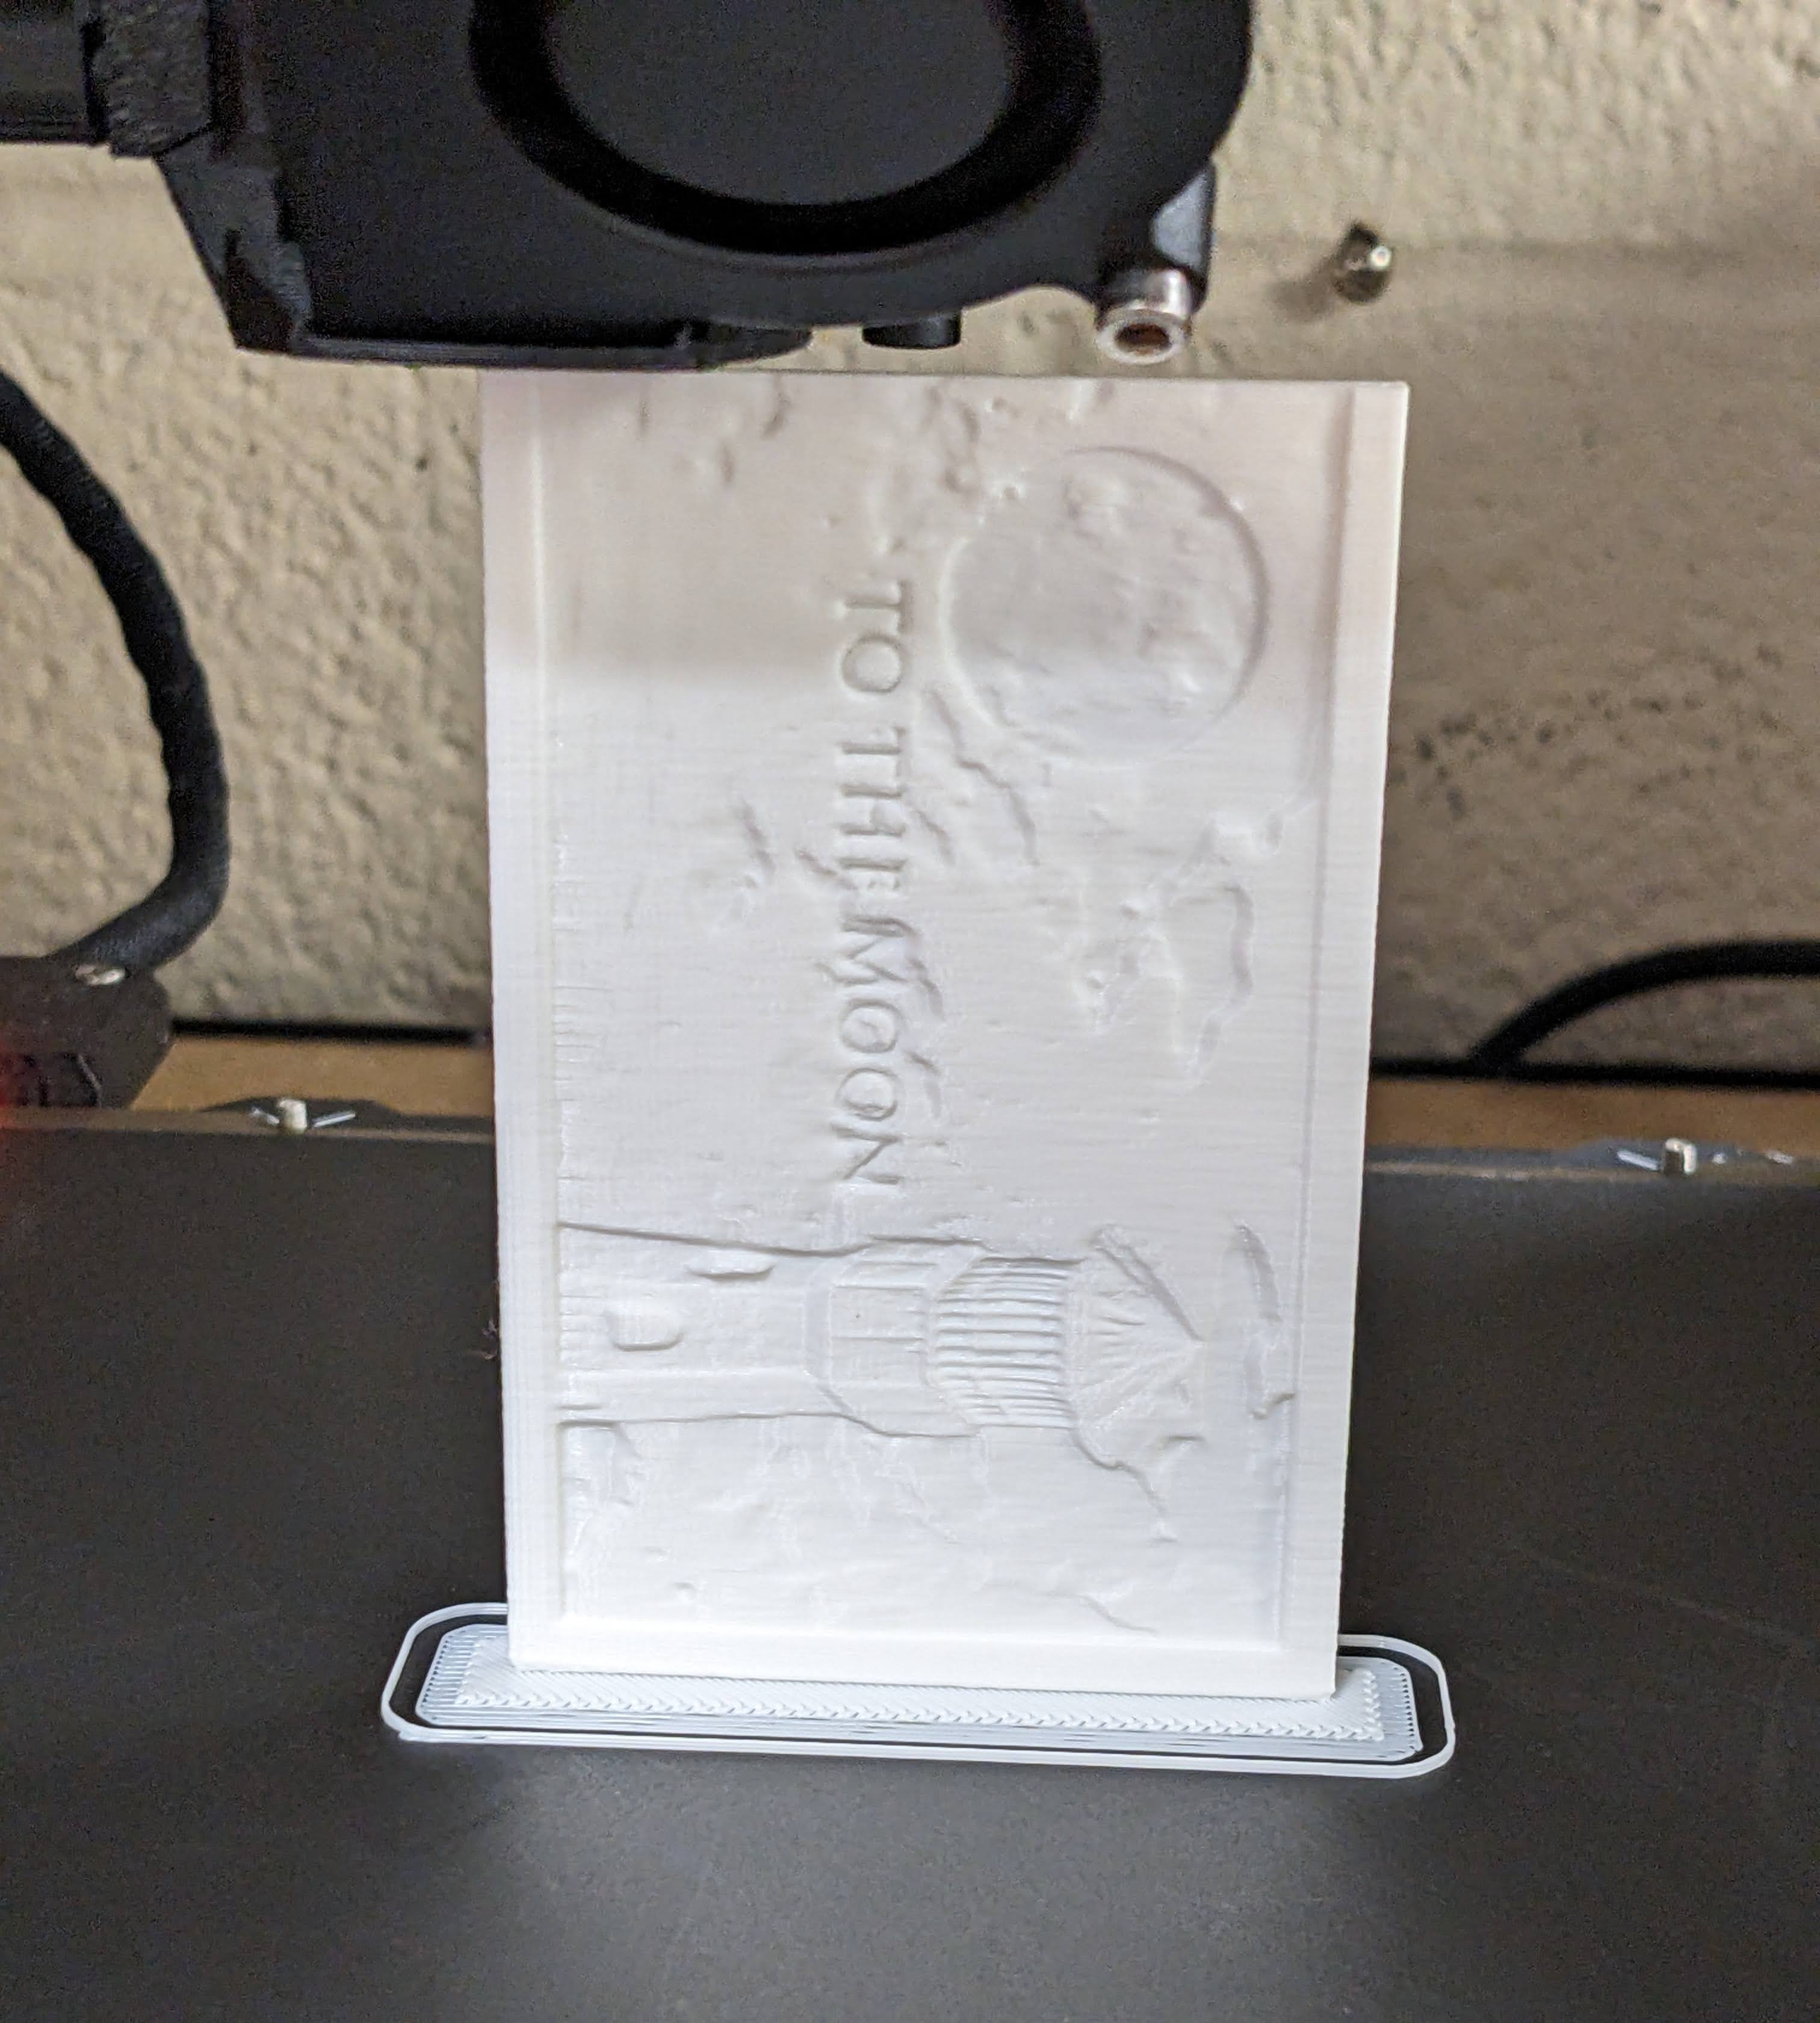
Remember that print failures are to be expected, and it will likely take a number of tries to get a clean print (this one took me four tries). I did most of my research for this project by searching on google and reading forums + watching youtube videos.
The Checklist
Under “Images”
Under “Model”
Under “Settings” -> “Image Settings”:
Under “Settings” -> “Model Settings”
Slicer:
Now just print and make sure the first few layers are good!
Thanks for reading my post. Please leave a comment or reach out if you have any questions :)